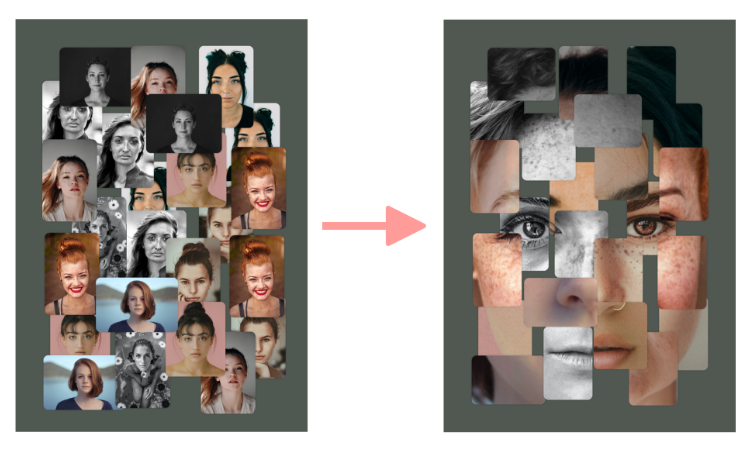
Sample Face-Mosaic .
Using the Face-Mosaic action you can transform your photos into something really unique. All you need is a set of portrait images.
Basically you can use any kind of portrait image. However, some photo traits are of benefit for the resulting Face-Mosaic image:
To create a Face-Mosaic:
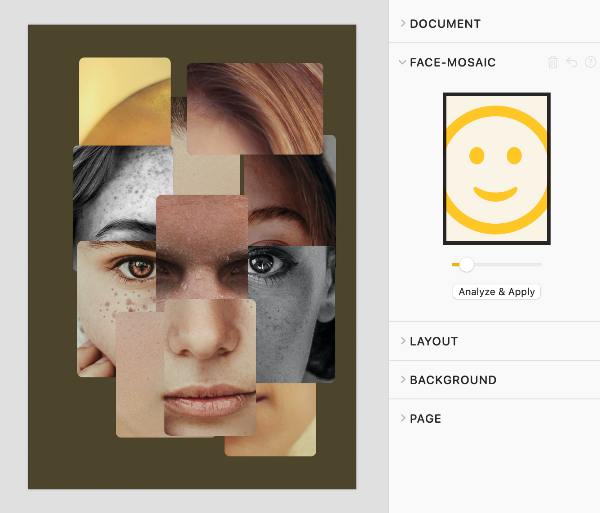
Depending on the layout of your images, the Face-Mosaic may need some manual fine tuning.
For example when using a random or manual layout of images it could make sense to manually move individual images to find a position which is a better fit for the overall mosaic.
For example, moving an image frame a bit so the eyes are not cut off by the edge of the frame.
After manually changing the position or size of an image frame, click the button on the Face-Mosaic inspector panel to update the overall layout.
Please note that the algorithm for the Face-Mosaic depends on the enclosing rectangle of all image frames. So, when the enclosing rectangle changes - e.g. because a frame is moved towards the outer edge of the page - the position of the overall Face-Mosaic may change too.